
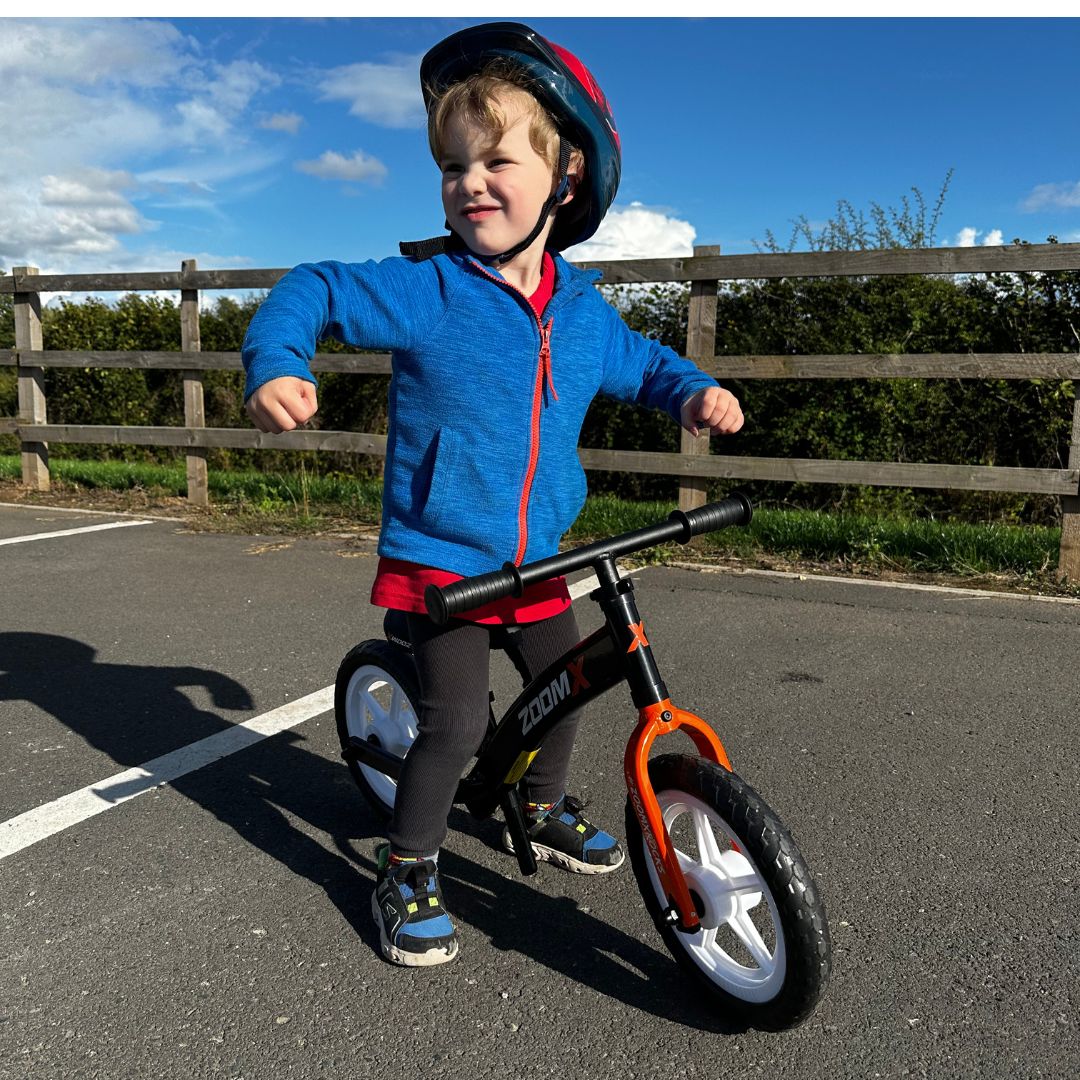
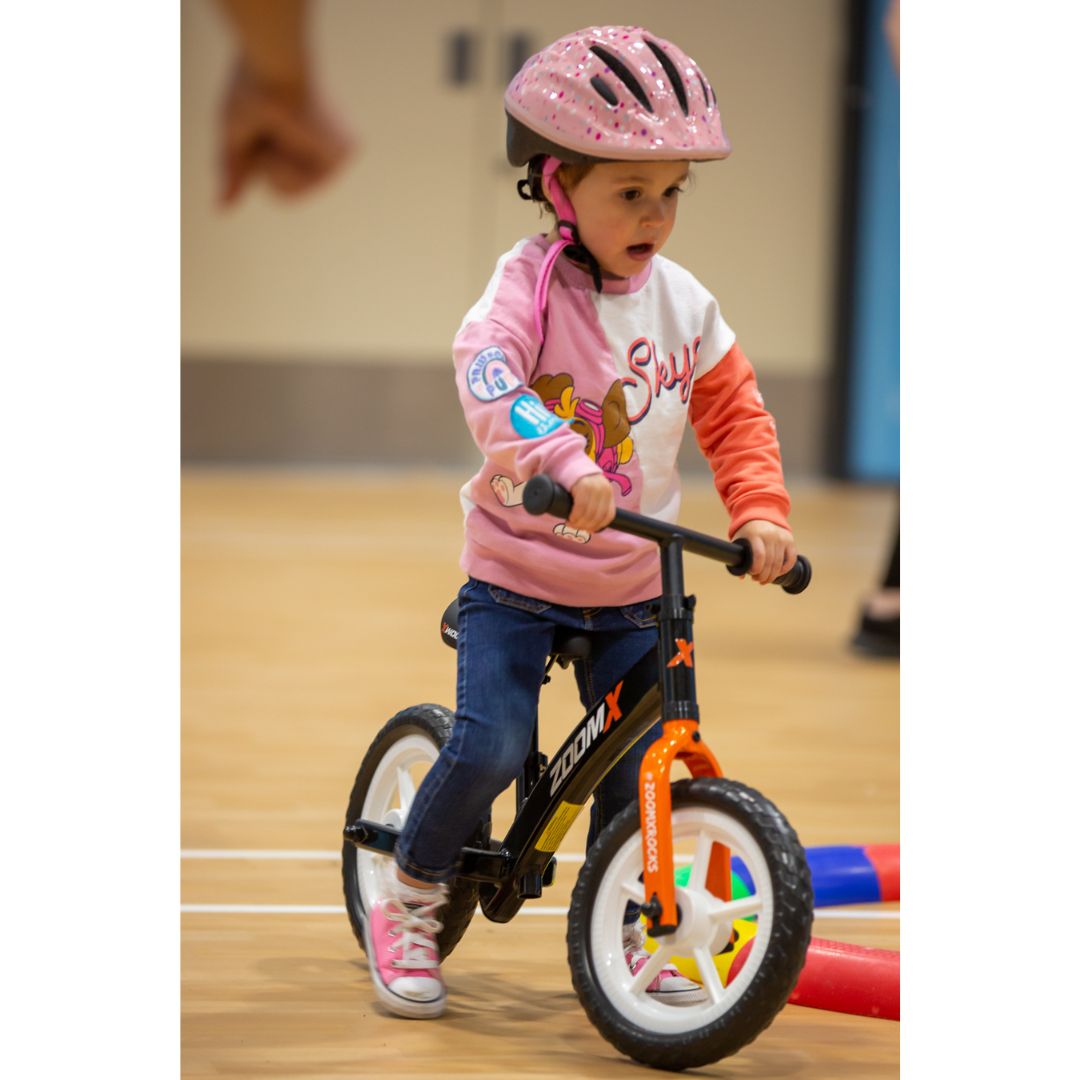
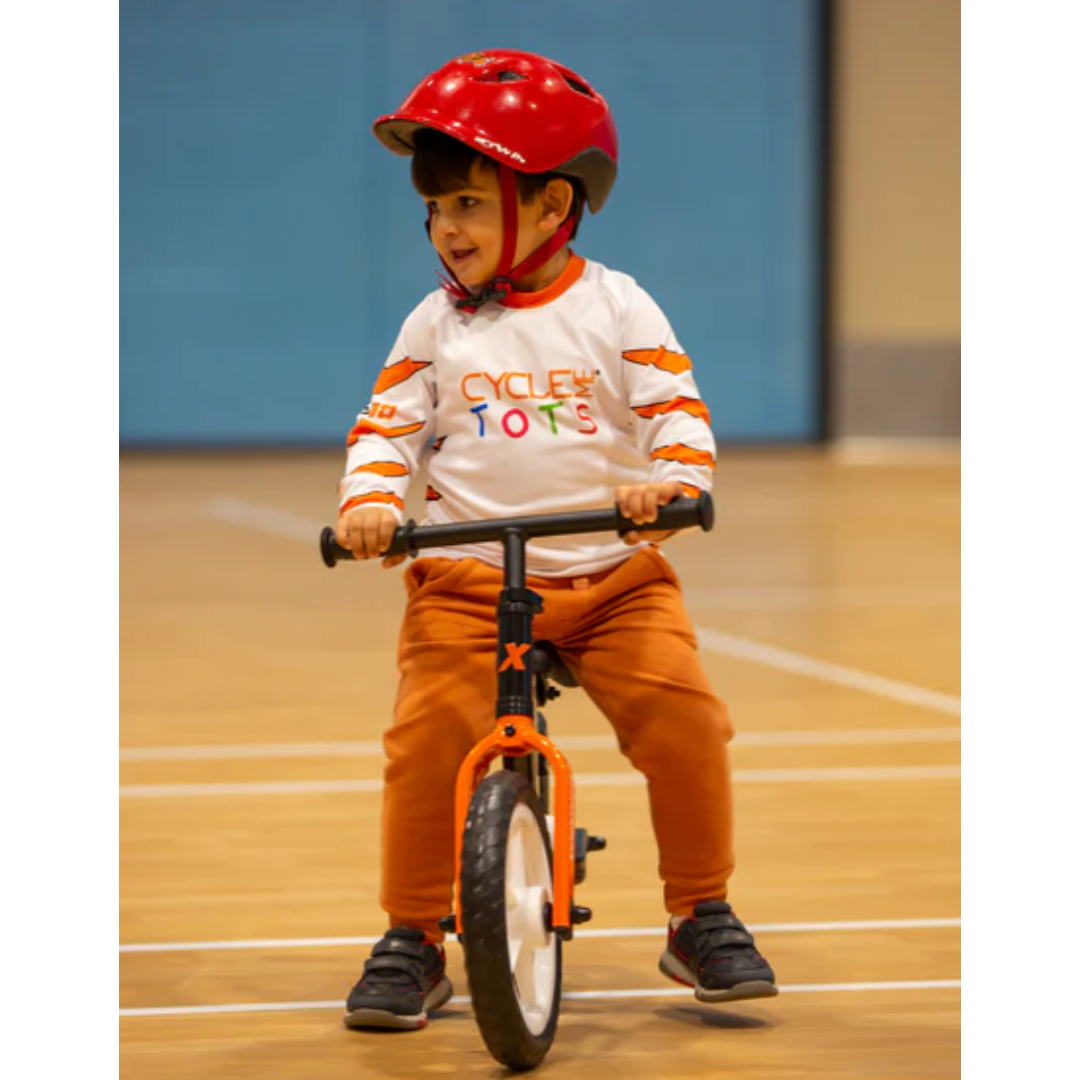
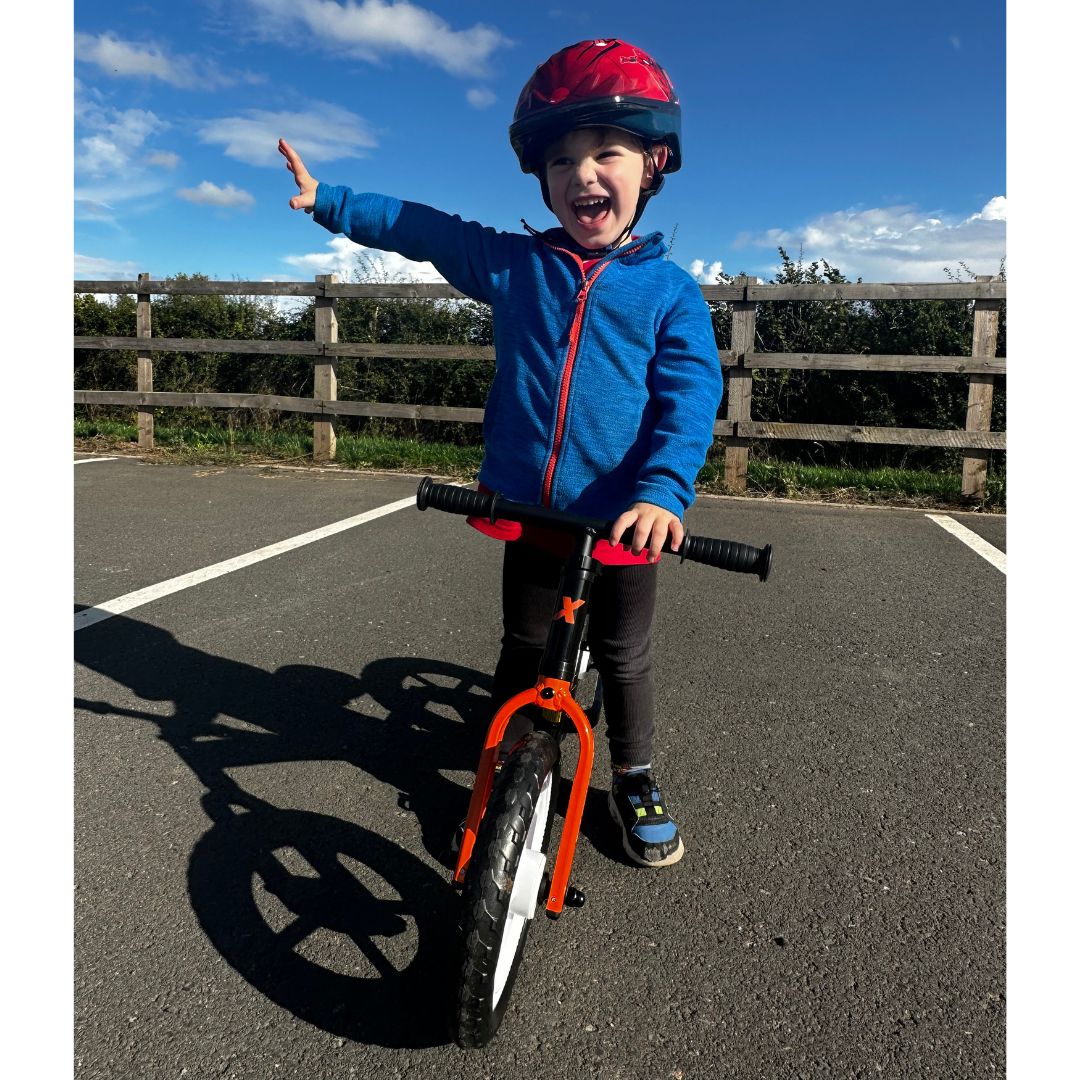
How to Fit Your Child for a Cycling Helmet: A Complete Guide for Safety and Comfort
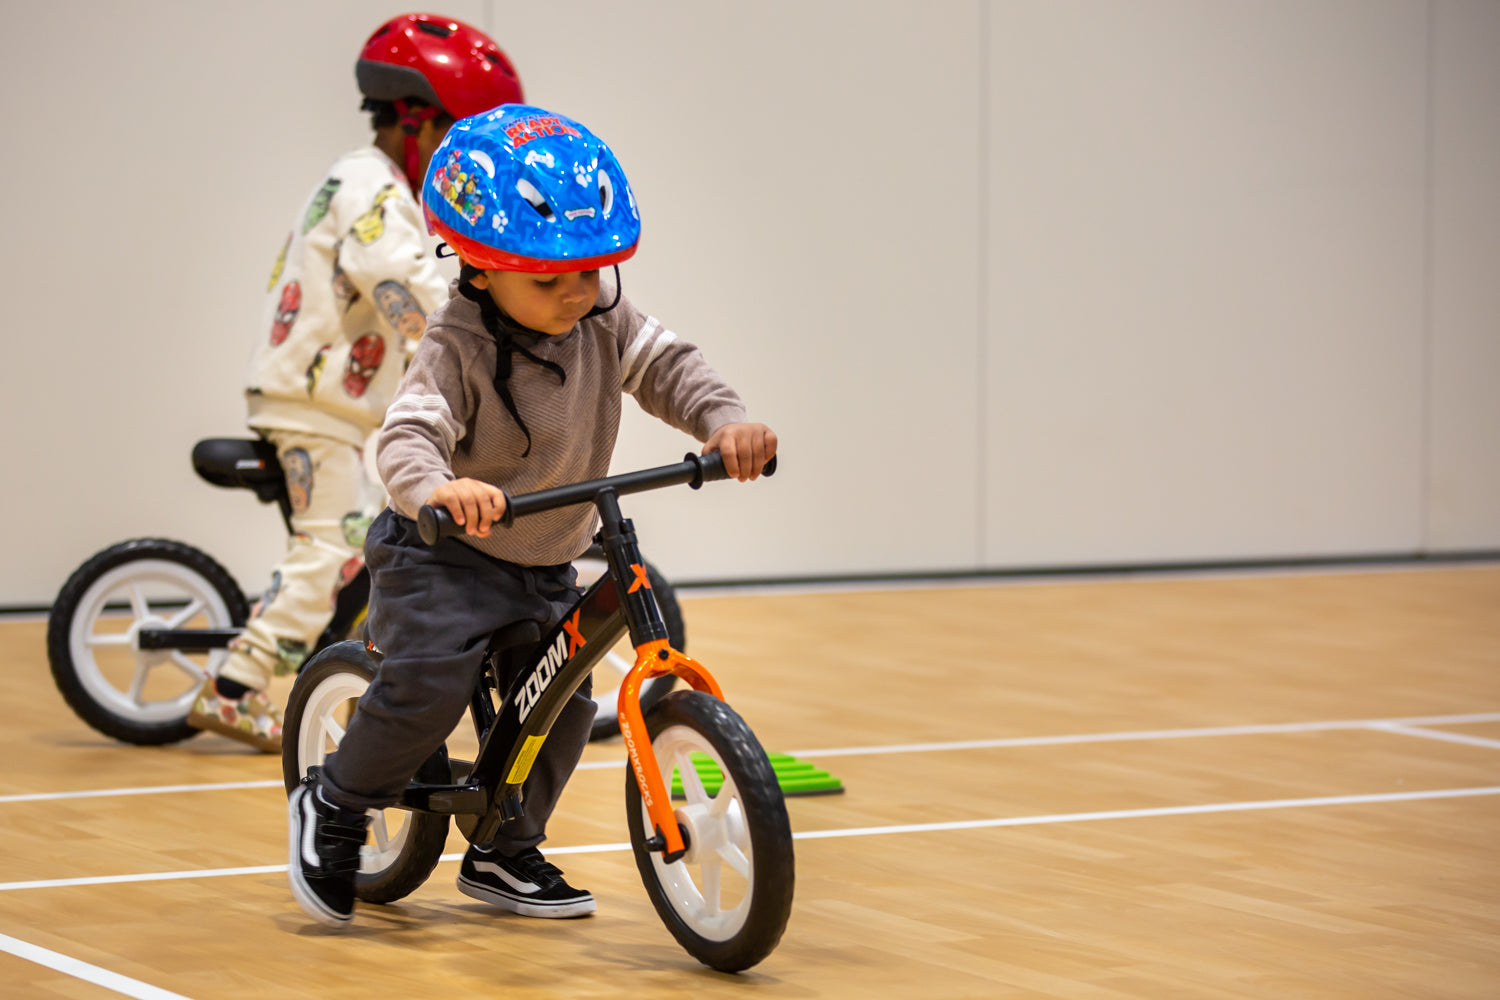
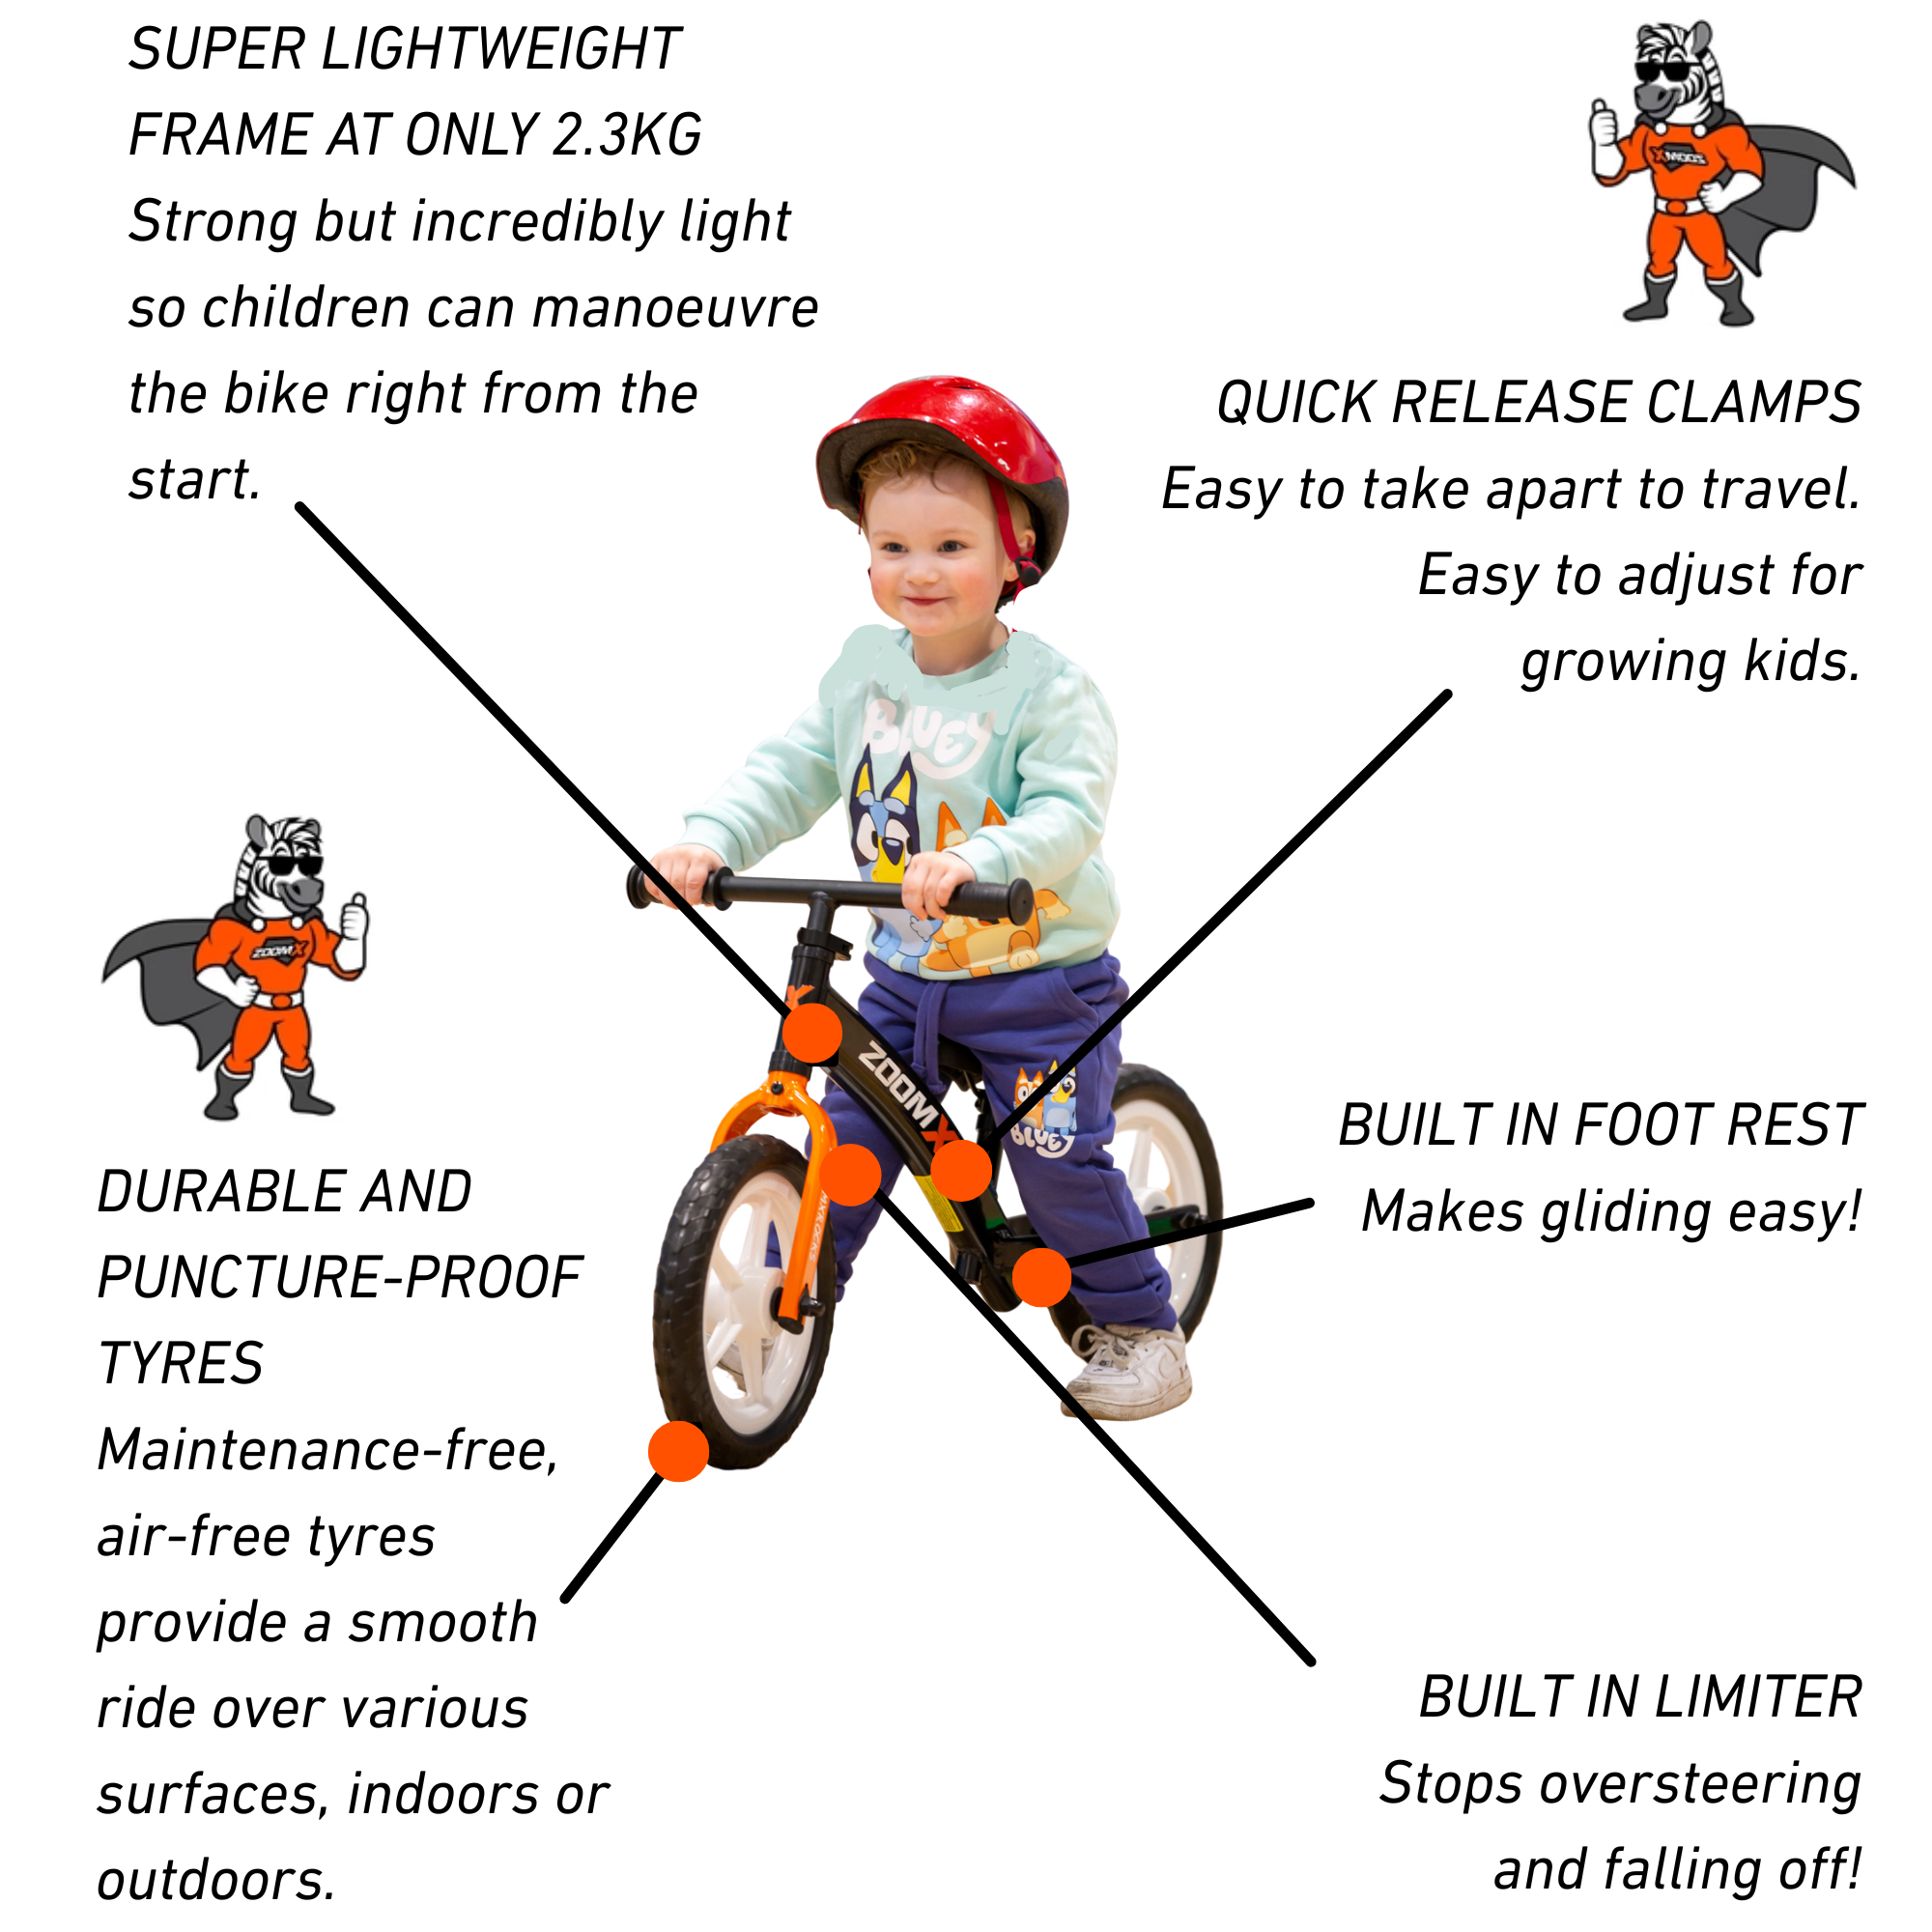
When it comes to cycling, safety should always be a top priority. One of the most important pieces of gear to ensure your child's safety is a properly fitted cycling helmet. Whether they’re just starting out on a balance bike, learning to pedal, or riding with you on family bike rides, wearing the right helmet helps protect their head in case of a fall or crash.
But how do you make sure that helmet fits correctly? A poorly fitted helmet can be uncomfortable, ineffective, or even dangerous. Here's a step-by-step guide to help you choose and fit the perfect helmet for your child to ensure they’re protected and comfortable while riding.
1. Choose the Right Helmet Size
Before fitting the helmet, it's crucial to choose one that’s the right size for your child. Cycling helmets come in various sizes, and the correct size will depend on your child’s head circumference.
How to Measure Your Child’s Head:
- Use a soft measuring tape to measure around your child’s head, about one inch above their eyebrows, which is typically where the helmet will sit.
- Make sure the tape is snug but not tight—this is the circumference of their head.
- Compare the measurement to the sizing chart of the helmet brand you're considering. Helmet sizes are often measured in centimeters or inches (e.g., Small: 48-52 cm, Medium: 53-57 cm).
- If your child’s measurement falls between two sizes, it’s typically better to go with the larger size for comfort, but adjust the fit using the internal straps (we’ll cover that next).
2. Adjust the Helmet for a Perfect Fit
Once you’ve chosen the right size, it’s time to adjust the helmet for a secure and comfortable fit. Follow these steps to get the best fit:
-
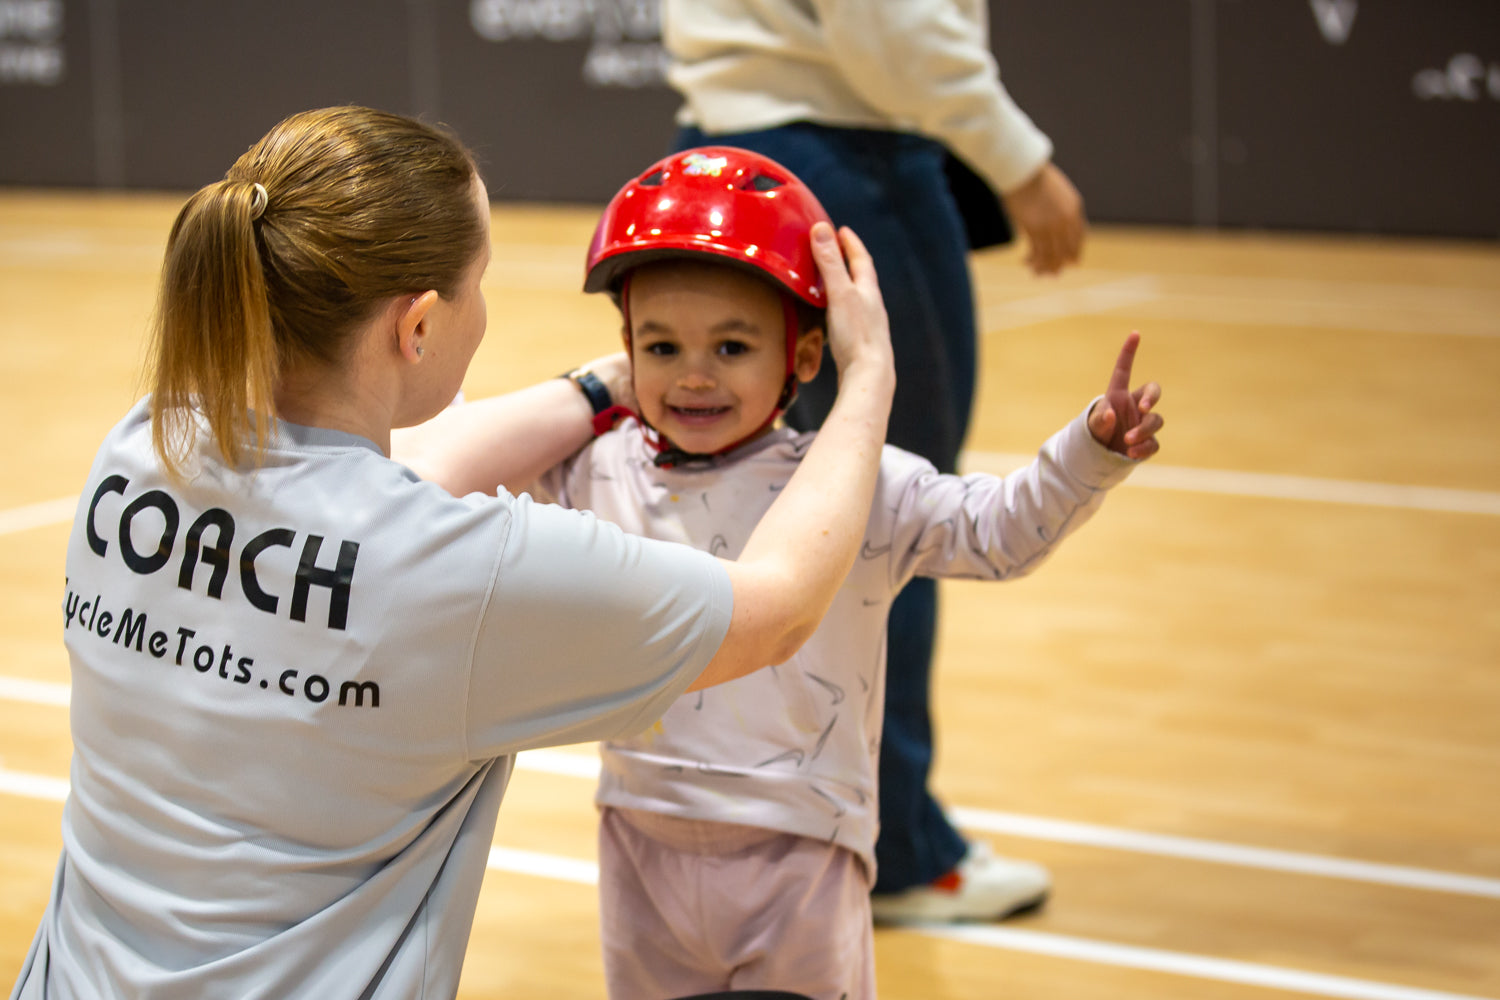
Position the Helmet Correctly: Place the helmet on your child’s head, making sure it sits level. The helmet should cover the forehead, about one inch above the eyebrows. This is crucial because if the helmet sits too high, it may not offer proper protection in the event of a fall.
-
Adjust the Straps:
- The chin strap should fit snugly under your child’s chin but not be tight. You should be able to fit one or two fingers between the strap and their chin. The strap should form a "V" just below the earlobes on both sides.
- Side straps (or the Y-straps) should be adjusted so that the straps meet at a point just below the ear. The straps should lie flat against the face, without gaps or twists.
-
Tighten the Dial or Fit System: Many helmets come with an adjustable fit system (like a dial or a slider) at the back of the helmet. This allows you to fine-tune the fit around the circumference of the head. Tighten it until the helmet feels snug, but not uncomfortably tight. You want it to stay securely in place without shifting or moving around.
3. Check for the Right Fit
Once the helmet is in place and adjusted, perform these simple tests to check if it’s the right fit for your child:
-
Helmet Movement Test: Ask your child to shake their head gently. The helmet should stay securely in place, not shifting forward, backward, or side-to-side. If it moves too easily, it may be too large, or the straps may need further adjustment.
-
Check the Helmet Position: The helmet should sit snugly on your child’s head, covering the forehead without obstructing their vision. If it’s too high, it won’t protect their forehead properly; if it’s too low, it could interfere with their eyesight.
-
The “Finger Test”: You should be able to fit one or two fingers between the chin strap and your child’s chin, but no more. If you can fit more than that, the strap may be too loose.
-
Eyebrow Test: When the helmet is on correctly, the front edge should be one inch above your child’s eyebrows. If it’s too high, it won’t provide adequate protection in the event of a fall.
4. Make Adjustments for Comfort
Comfort is key for getting your child to actually wear their helmet. Here are some tips to improve comfort:
- Padding Adjustments: Many helmets come with removable padding inside. Adjust these pads or add extra ones for a better fit if necessary.
- Ventilation: Make sure the helmet has plenty of ventilation to keep your child’s head cool and comfortable. Many helmets have built-in vents, but check if they’re blocked by hair or other materials.
- Helmet Liner: Some helmets include a soft, moisture-wicking liner. This can help prevent sweat from dripping into your child’s eyes, making the ride more pleasant.
5. Encourage Helmet Wearing from the Start
The more accustomed your child gets to wearing their helmet, the easier it will be for them to wear it consistently. If your child is resistant to wearing a helmet, try making it part of the routine early on. Let them choose a helmet design they like, and explain how important it is for staying safe.
6. Regularly Check the Fit
As your child grows, their head size will change, and so will the fit of the helmet. Regularly check the fit of their helmet to ensure it’s still providing the best protection. If the helmet is too tight, too loose, or if your child’s head has outgrown it, it’s time for a new helmet.
7. Replacing a Helmet After a Crash
If your child ever has a fall or accident where the helmet is impacted, it’s essential to replace the helmet, even if there’s no visible damage. Helmets are designed to absorb impact by compressing during a crash, and once this happens, the helmet can no longer provide the same level of protection.
Final Thoughts
Fitting your child’s cycling helmet properly is essential for their safety and comfort. By choosing the right size, adjusting the straps and fit system, and regularly checking the helmet as your child grows, you can ensure they stay protected while enjoying their cycling adventures. Always remember: a helmet that fits well is a helmet that will be worn—and the best way to keep your child safe while they ride is to make sure they wear it every time.
Happy cycling! 🚲


